Are you looking for a way to keep your dog in your yard without compromising your property’s aesthetics? An inground dog fence, also known as an invisible dog fence, might be the perfect solution. This innovative system allows you to create a secure boundary for your pet without the need for visible fencing. In this article, we’ll guide you through the process of making an invisible dog fence, focusing on the inground fence option.
What is an inground dog fence?
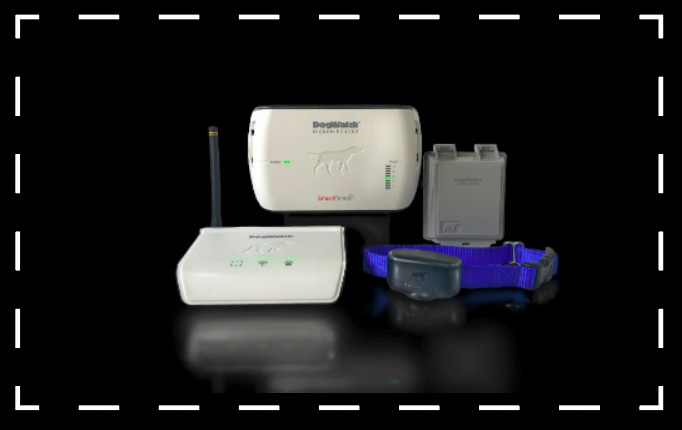
An inground dog fence is a hidden containment system that uses buried wires to create an invisible boundary for your dog. This type of fence works by sending a radio signal through the underground wire, which is picked up by a special collar worn by your dog. When your dog approaches the boundary, the collar emits a warning sound, followed by a mild static correction if they continue towards the edge.
Steps to create an invisible dog fence:
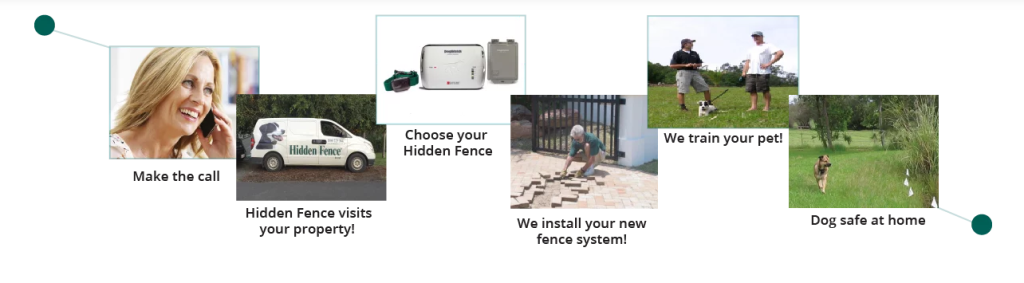
The best way to create an invisible dog fence is to have it professionally installed. Hidden Fence takes care of all the details for you and can even provide professional training. If you do want to install your inground dog fence yourself, these are the steps you should follow.
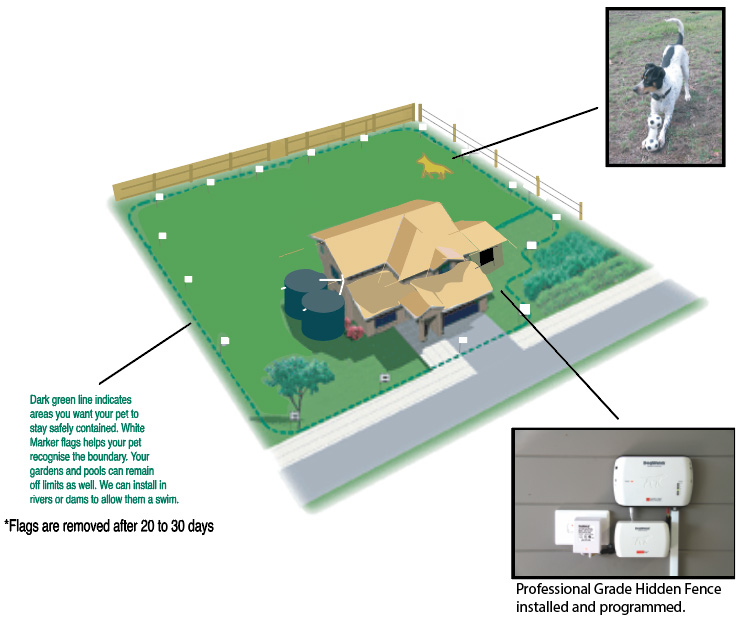
- Plan your layout Before installation, map out the area you want to enclose. Consider factors like garden beds, driveways, and existing structures. Remember that the inground fence wire can cross hard surfaces if needed.
- Gather materials You’ll need:
- Inground fence wire
- Transmitter
- Dog collar receiver
- Boundary flags
- Wire splicing kit
- Trenching tool or edger
- Install the transmitter Mount the transmitter in a dry, sheltered area with access to a power outlet. This device sends the signal through the buried wire.
- Lay the wire Using your trenching tool or edger, create a shallow trench (about 10cm deep) along your planned boundary. Carefully lay the wire in the trench, ensuring it forms a complete loop back to the transmitter.
- Test the system Before burying the wire, connect it to the transmitter and test the signal using the collar receiver. Make any necessary adjustments to ensure consistent coverage.
- Bury the wire Once you’re satisfied with the layout and signal strength, carefully bury the wire in the trench. Take care not to damage the wire during this process.
- Mark the boundary Place the boundary flags along the fence line. These visual markers will help your dog understand the limits of their play area during training.
- Train your dog. Spend time teaching your pet about its new boundaries. Start with short, positive training sessions, gradually increasing their duration as your dog becomes more comfortable with the system. You may also like to consider professional installation and training.
Benefits of an inground dog fence:
- Aesthetically pleasing: No visible fencing to obstruct views or clash with landscaping
- Versatile: Can cover large areas and irregular shapes
- Cost-effective: Often more affordable than traditional fencing options
- Customisable: Adjustable boundary width and correction levels
Other Considerations:
- Regular maintenance: Check the system periodically to ensure proper function
- Battery replacement: The collar receiver will need new batteries every 6-12 months.
Creating an invisible dog fence using an inground fence system can provide a safe, attractive solution for pet containment. By following these steps and dedicating time to proper training, you can give your dog the freedom to enjoy your yard while maintaining peace of mind.
Remember, while DIY installation is possible, professional installation services are available if you prefer expert assistance.
For more information on inground fence options and installation Contact Hidden Fence.