
The DogWatch MB1 Wireless Dog Fence offers a flexible, portable solution for creating small pet-free zones throughout your home and garden. Whether you’re protecting indoor furniture, outdoor garden beds, or children’s play areas, this comprehensive guide will help you set up your MB1 and train your pet to respect its new boundaries.
What is the MB1 MobileWireless Dog Fence?
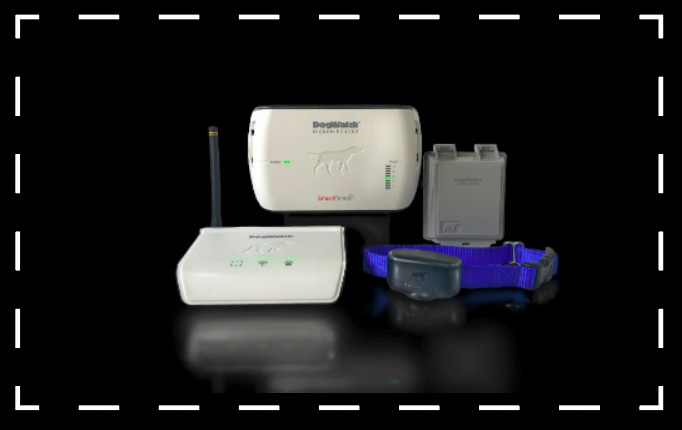
The MB1 is a battery-operated indoor/outdoor wireless transmitter disc, combined with a receiver collar, that creates customisable pet-free zones ranging from 1 to 2.5 metres in diameter. Unlike permanent fence installations, this portable system can be moved to protect different areas as needed, making it ideal for targeted pet management both inside and outside your home.
Common Applications
The versatility of the MB1 makes it perfect for protecting:
Indoor Areas:
- Furniture like sofas, beds, and armchairs
- Kitchen tables and countertops
- Trash bins and cat litter boxes
- Doorways and entryways
- Baby’s nursery or children’s rooms
Outdoor Areas:
- Vegetable and flower gardens
- Swimming pools and water features
- Children’s play equipment
- Specific garden beds or delicate plantings
- Outdoor entertaining spaces
How the MB1 System Works
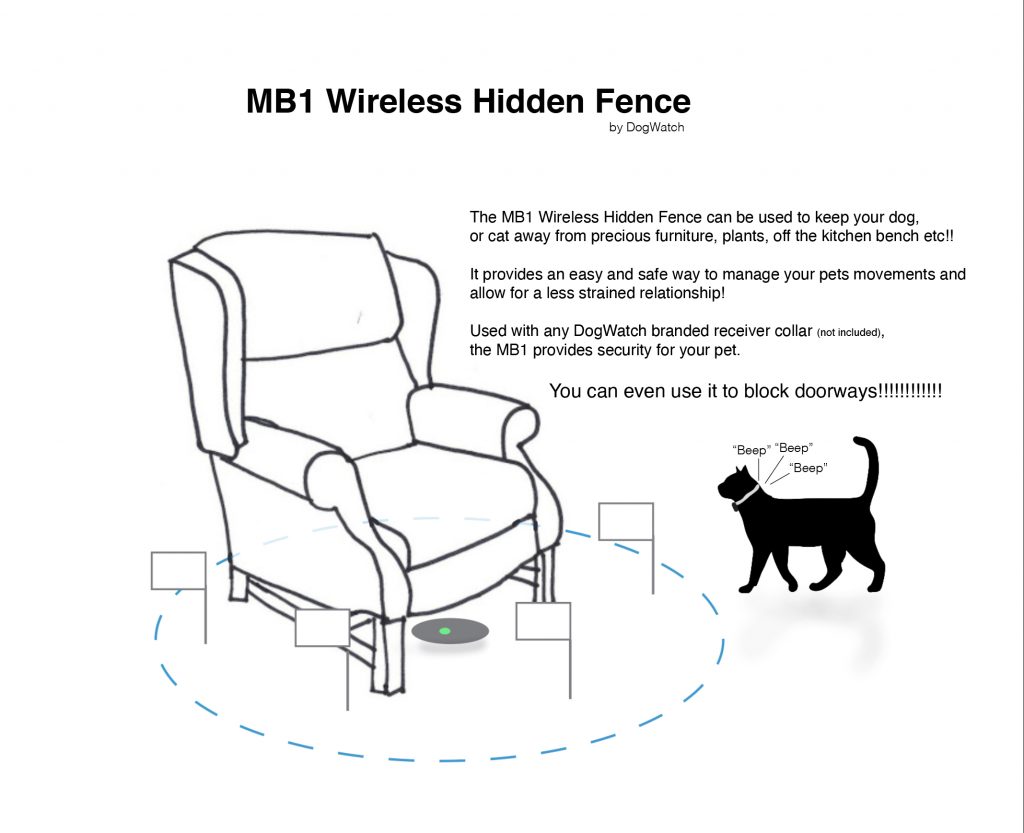
The MB1 wireless dog fence creates an invisible boundary through a silent radio signal recognised by your pet’s receiver collar. As your pet approaches the protected area, the system provides a two-stage warning and correction process:
Warning Zone: When your pet approaches the boundary, their collar emits an audible beeping sound to alert them that they’re entering a restricted area.
Correction Zone: If your pet continues past the warning zone, the collar delivers a brief, safe correction that discourages further approach.
Through consistent training, your pet learns to associate the warning beep with the boundary and will naturally avoid these areas.
Understanding the Signal Field
The MB1 transmitter creates a spherical signal field that radiates in all directions, like an invisible ball centred on the unit.
Horizontal Range: Up to 120cm from the transmitter centre ( 240cm maximum diameter)
Vertical Range: Up to 150cm above and below the transmitter
This three-dimensional field means the transmitter can protect areas, whether it is placed on the ground, furniture, or countertops. Keep in mind that the signal extends both above and below the unit when planning placement.
Important: Never position the transmitter on or near large metal objects, as they can interfere with the signal.
Initial Setup: Before First Use
Charging the Battery
Before using your MB1 for the first time, charge the battery for at least 3 hours.
Critical Safety Note: The transmitter must always be charged indoors. Never plug it in outdoors.
To charge your MB1:
Plug the DogWatch power adapter into an indoor electrical outlet
Insert the adapter securely into the charging port on the transmitter
The status light will show a steady red light while charging
Charging takes approximately 3 hours when the unit is turned off (longer if left on)
The built-in protection circuit prevents overcharging
Battery Maintenance Tips:
Only use the DogWatch power adapter for charging
Don’t leave the transmitter uncharged for extended periods
Don’t charge if the temperature is below 0°C or above 43°C
Unplug when not charging (except during use)
Understanding the Status Light
The status light provides essential information about your transmitter’s operation and battery status:
When Battery Operated and Turned ON:
Fully Charged: Green light blinks every 15 seconds
Low Battery: Red light double-blinks every 15 seconds
When Plugged In:
Fully Charged (ON): Steady green light blinks off every 15 seconds
Charging (ON): Steady red light blinks off every 15 seconds
Charging (OFF): Steady red light
Power On/Off Indicators:
Turning ON: The status light turns green and blinks several times
Turning OFF: Status light turns red, then fades out
Configuring Your Boundary Settings
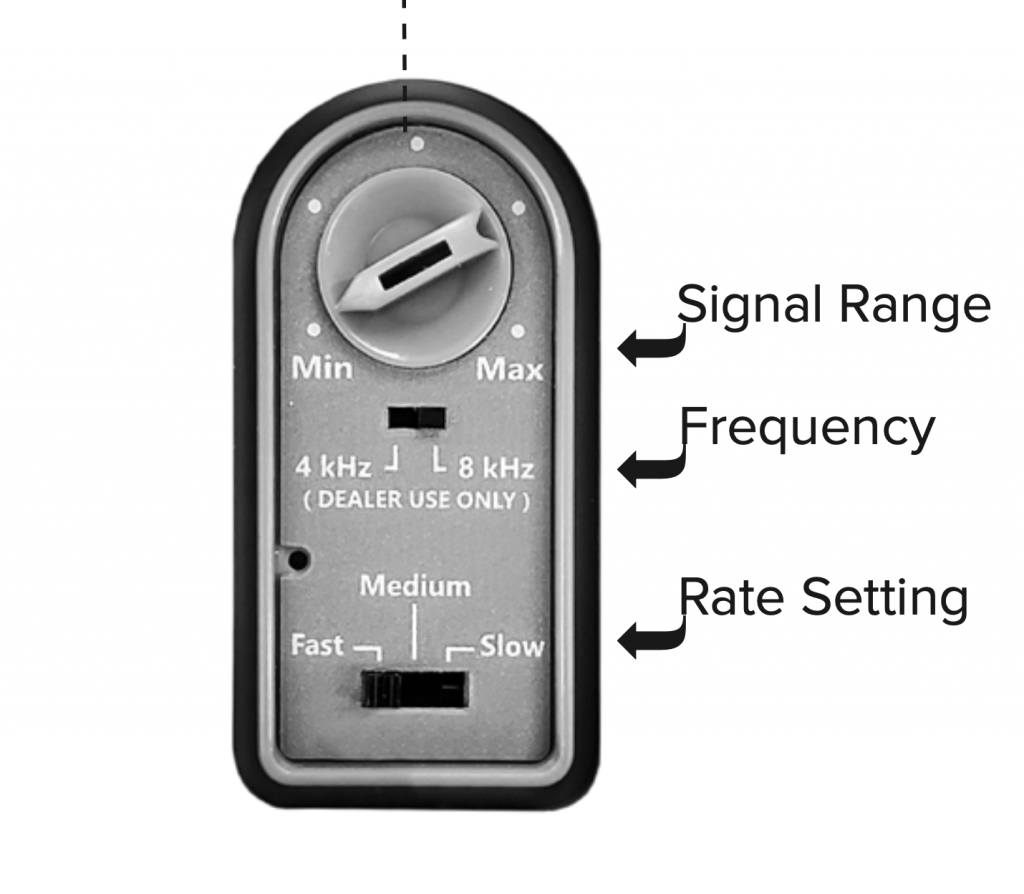
Before positioning the transmitter, configure two essential settings on the bottom control panel:
Signal Range Setting
The range knob controls how far the signal extends from the transmitter centre.
Turn toward ‘max’ to increase the protected area size
Turn toward ‘min’ to decrease the protected area size
Important Safety Rule: Never adjust the signal range while your pet is wearing the receiver collar. Always test the new range and replace boundary flags before allowing your pet near the area.
Rate Setting
The rate setting determines how frequently the signal transmits, affecting both boundary security and battery life.
Fast Setting:
Transmits rapid signal pulses for maximum security
Recommended during the initial training phase
Ideal when secure boundaries are critical (doorways, pools)
Battery life: Approximately 3.5 days at maximum range
Note: Only functions at a fast rate when battery-operated (defaults to medium when plugged in)
Medium Setting:
Slightly slower transmission rate for moderate battery conservation
Recommended after initial training when pets understand boundaries but need reinforcement
Battery life: Approximately 7 days at maximum range
Slow Setting:
Slowest transmission rate for extended battery life
Recommended for well-trained pets needing occasional reminders
Battery Life Factors:
Decreasing range increases battery duration between charges
Cold weather reduces battery life
Time between charges varies based on both rate and range settings
Frequency Setting
Do not change the frequency setting. This controls the broadcast frequency and is pre-configured for your system.
Outdoor Use Requirements
The MB1 is water-resistant but not waterproof. When using outdoors, follow these essential guidelines:
Ensure the rubber flap covering the charging port is tightly closed
Ensure the rubber cover over the bottom control panel is tightly closed
These rubber seals prevent water damage when properly secured
Operate on battery power only (never plug in outdoors)
Keep out of direct sunlight to avoid overheating
Battery life: Approximately 30 days at maximum range
Installation Steps
Step 1: Position the Transmitter
Place the MB1 in the centre of the area you want to protect. Position it:
On a counter or table for indoor furniture protection
In the garden bed you wish to keep pet-free
Near a doorway you want to block
Under furniture to create floor-level boundaries
Remember the signal radiates in all directions, so centre placement ensures even coverage.
Step 2: Test the Signal Field
Before putting the collar on your pet, locate and mark the boundary using the test light:
Place the test light on the receiver collar’s contact posts (avoid touching the posts yourself)
Walk slowly toward the transmitter
Listen for the warning beeps that indicate the boundary edge
Note where the warning zone begins
Step 3: Place Training Flags
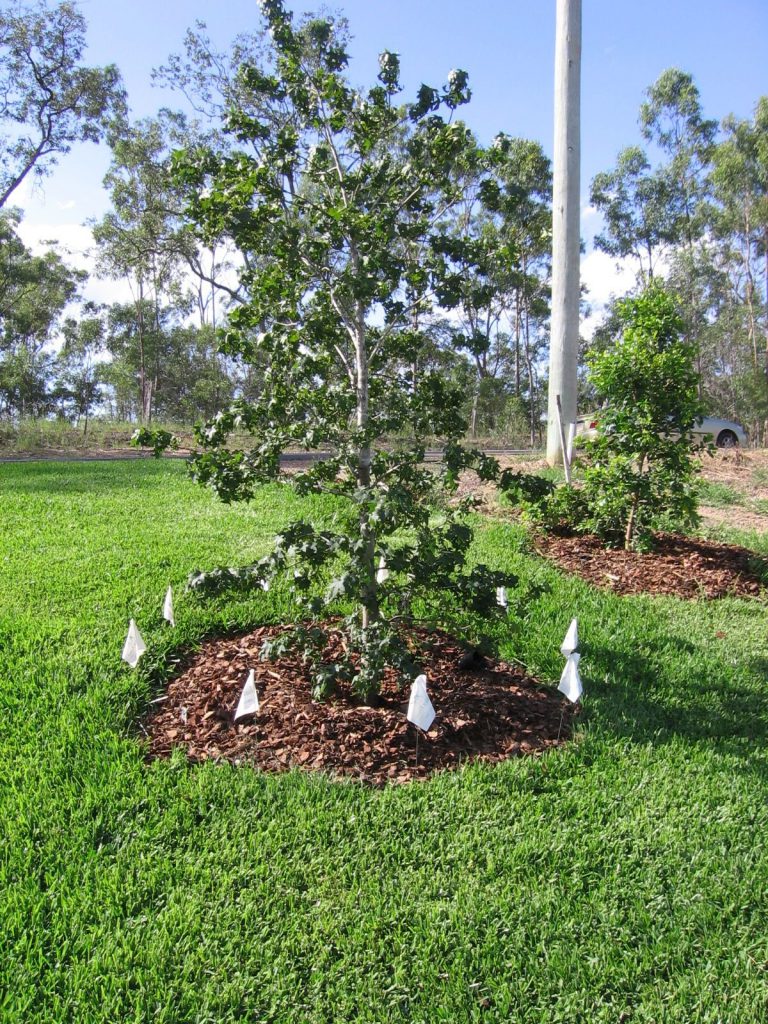
Position the provided training flags around the entire boundary edge, just past where you heard the warning beeps.
These flags serve as visual markers that help your pet understand the boundary during training.
The flags will be gradually removed once training is complete.
Space flags evenly around the protected area to create a clear visual perimeter.
Training Your Pet to Respect Boundaries
Proper training is essential for the MB1 system to work effectively. Plan to dedicate time over several days for initial training sessions.
Preparing for Training
Before starting:
Ensure the transmitter is fully charged and turned on
Place all boundary flags around the signal field edge
Have treats ready for positive reinforcement
Fit the receiver collar properly on your pet (snug with contact posts touching skin, but not uncomfortably tight)
Attach a leash to your pet’s regular collar (not the receiver collar)
Training Process
Session 1: Introduction to Boundaries
Approach the flagged boundary area on leash.
As you near the flags, shake one in front of your pet.
Say firmly, “Watch out!” or “Careful!”
Allow your pet to walk past the flags on leash.
When they enter the warning zone, they’ll hear a beeping sound.
If they continue into the correction zone, they’ll receive a brief correction.
Immediately call out your warning phrase and tug the leash to guide them away from the boundary.
Once safely away, provide praise and affection.
Session 2-3: Reinforcement
Repeat the approach several times per session.
If your pet retreats at the audible warning without entering the correction zone, immediately reward with enthusiastic praise and treats.
If they ignore the warning, repeat the correction process.
Always end training sessions on a positive note.
Allow plenty of rest and play time between sessions.
Session 4+: Building Independence
Continue practising over several days.
Gradually allow more slack in the leash as your pet demonstrates understanding.
Watch for signs they’re stopping at the warning beep without needing leash guidance.
Continue heavy praise for respecting boundaries.
Training for Multiple Boundary Areas
Each time you set up the MB1 in a new location:
Place flags around the new boundary edge
Conduct refresher training sessions in the new area
Even well-trained pets need an introduction to each new protected zone.
Removing Training Flags
Once your pet consistently respects the boundary over several days, begin gradually removing flags:
Remove one or two flags at a time over several days
Watch to ensure your pet still respects boundaries with fewer visual cues
If they approach too closely, replace flags and continue training longer
Troubleshooting Common Issues
Pet Enters Avoidance Area Without Responding
If your pet walks into the protected area without reacting to the correction:
Check Transmitter Function:
Verify the unit is charged and turned on (status light should be blinking)
Check the rate setting and increase if necessary
Check the range setting and increase it if it’s too small
Ensure the transmitter isn’t positioned near large metal objects
Check Receiver Collar:
Confirm the collar fits properly, with the contact posts touching the skin.
Test the collar by removing it from your pet and placing the test light on the contact posts while holding it next to the transmitter.
If the test light activates, the receiver is functioning correctly
Check that you’re not accidentally touching the contact posts during testing
Check Receiver Battery:
Verify the battery is inserted correctly
Determine if it needs replacement (typical life: R7 receiver up to 6 months, R9 receiver up to 2 years)
Adjusting Correction Level
If your pet consistently ignores the correction, you may need to increase the correction level on the collar receiver itself. Remember: Never adjust settings while your pet is wearing the collar. Remove it first, make adjustments, test, then refit the collar.
Important Safety Reminders
Collar Usage:
Remove the receiver collar at night or when not in use
This prevents skin irritation and pressure sores
Never leave the collar on for extended periods without breaks
System Adjustments:
Never adjust transmitter range or collar correction level while your pet is wearing the collar.
Always test changes before allowing your pet near the boundary
Temperature Considerations:
Don’t charge the transmitter below 0°C or above 43°C
Cold weather reduces battery life between charges
Warranty and Support

Your DogWatch MB1 comes with a 2-year warranty.
The rechargeable battery in the MB1 is replaceable, with battery life varying based on usage patterns and settings.
Order Your MB1 Boundary System
Ready to create customised pet-free zones throughout your home and garden?
The DogWatch MB1 Wireless Dog Fence is available through the Hidden Fence online shop at https://hiddenfence.com.au/shop/.